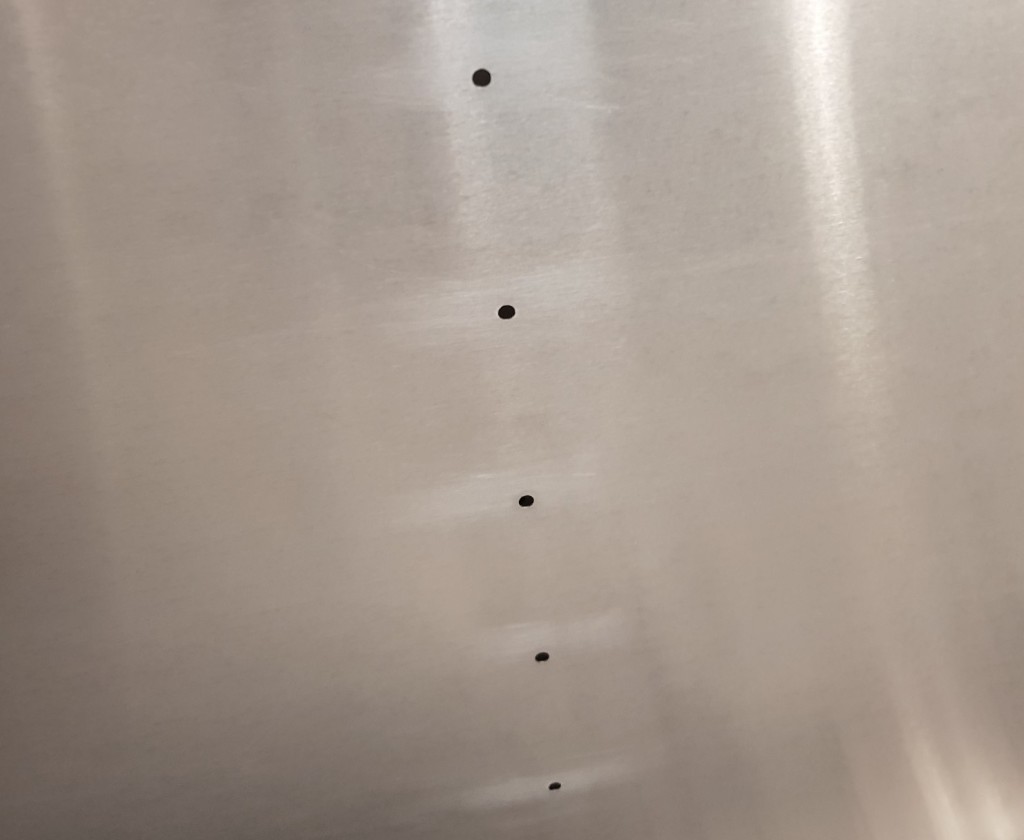
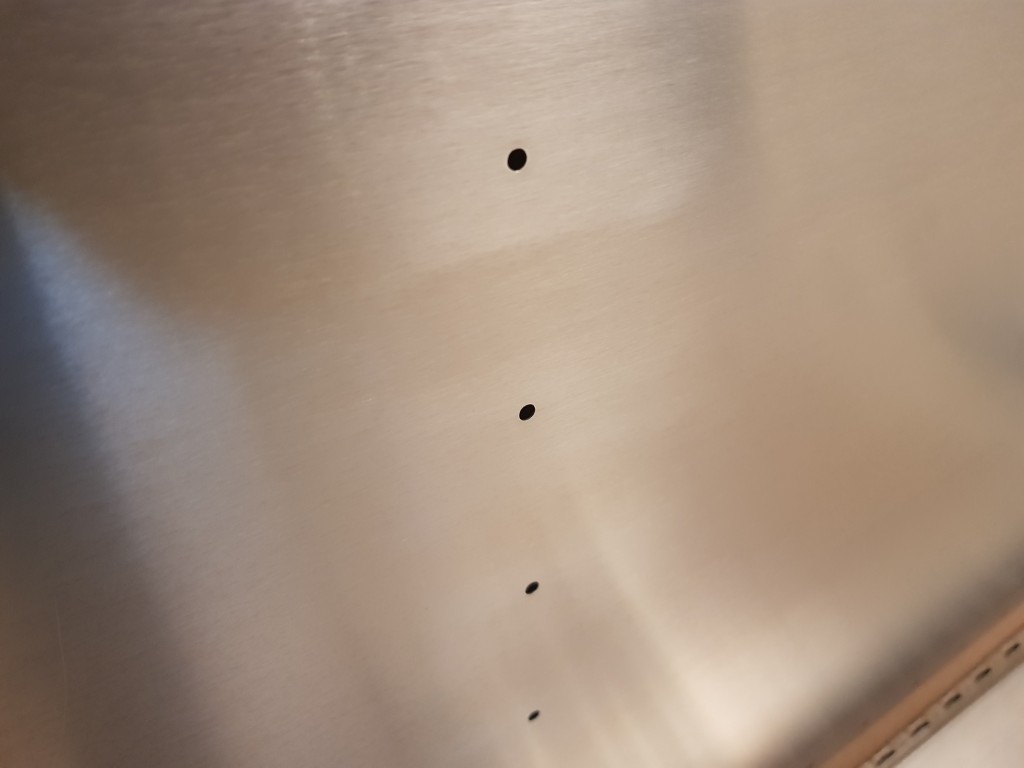
Spent some time earlier this week night reviewing all the parts and I started the deburring process. The tools I used was a drill bit (1/4″) and some 400 grit sandpaper.
The process was pretty straight-forward. Quick sanding of all edge burrs using the sandpaper, and use the drill bit to gently deburr all the holes.
While ribs and spars were easy, I found that dealing with the rudder skin caused some complications. It seems to be fairly easy to countersink, and I really wanted to avoid that. So I opted for turning the drill bit lightly to remove the worst burrs, and then lightly sand the skin surface flat around the hole.
While this made for some good results from a deburring perspective, it caused some really ugly-looking scuffing on the skin. As the aluminum used is not of the clad type, I don’t think this would cause any issues, but it looks horrible in my eyes and I regret this approach. However, I don’t think that using a file would have produced much better results.

I decided to go online and look for answers. It would seem that there are as many opinions as there are builders out there. The most common answer was to use a deburring tool and a flat file or a red Scotch brite (ordered). If I want to get rid of the scuff marks, lightly sand and polish.
I spent some time last night with a 600 grit and 1500 grit sanding block, and I would say that the surface has improved somewhat. But it will probably never look as pristine again. Lesson learnt!
